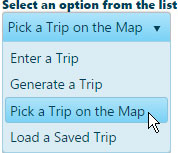
Use the Pick a Trip function to define a route by clicking on the map to select a point of origin, a destination, and if necessary, intermediate locations between the two.
From the Trip Definition drop-down, choose the Pick a Trip on the Map option.

The Trip Definition pane will change, reconfiguring to allow you to define your trip by choosing a start location, identifying points of transition along the way, and designating your destination.
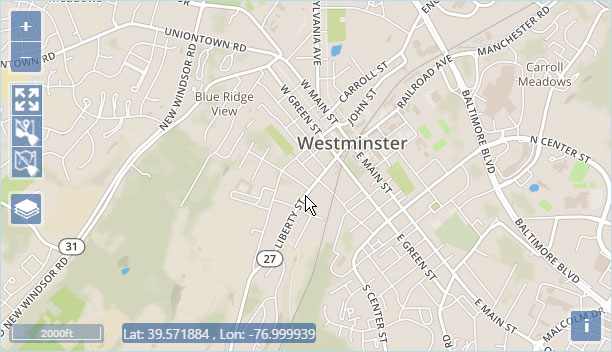
The cursor is now equipped to mark the point of origin; move it into the map panel and left-click on the desired location.
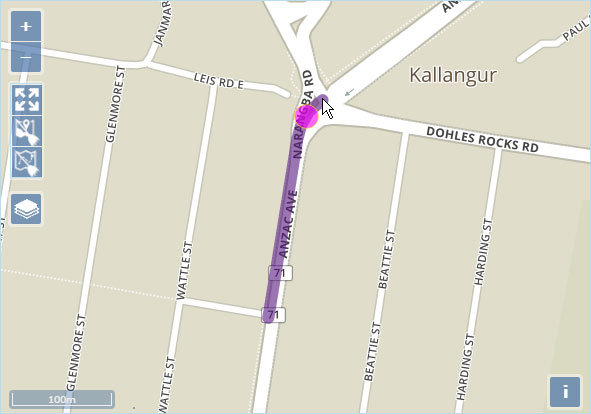
When you click, the panel will zoom and focus on the location, illustrating the origin point with a pick circle and the direction of travel with a purple line.
Click on the end of the purple line you will travel toward.
Use the mouse wheel to zoom in and out of the map.
The cursor is once more equipped to choose a point on the map, so guide it along the desired route, clicking on the roads you wish to take until you click at last on the destination.
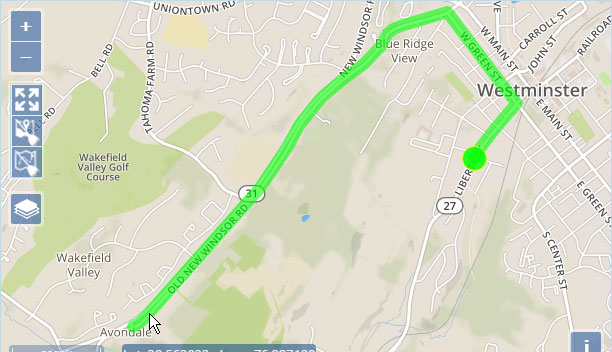
At each intersection along the route, you must choose the next segment, because the system will not choose for you.
Click the Analyze button.

The Analysis Results & Direction pane will show a Pass/Fail message, a Trip Description, and the Trip Length.
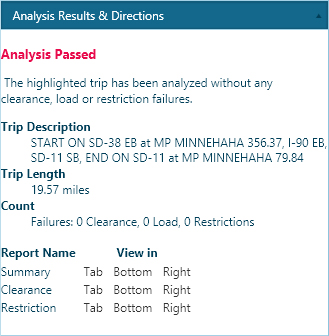
If your analysis failed, return to the Trip Definition pane and click the Clear Last button to eliminate the final segment of the route then click Analyze again. In this way, you can find the faulty segment of your route.
Click the Add Segment button to re-equip the cursor to mark new locations on the map.
Left-click on the desired location(s) on the map then click Analyze.
Repeat steps a through c until you have formulated a passable route.
Click the Trip Commands title bar then expand the drop-down and choose the Save Trip option to store a copy of your trip for future use.
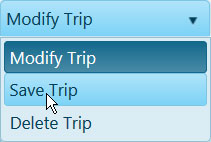
Click the Save button to avoid losing your application.

Click the Continue button.
